
Inspired by Miss Gwen from TFIM and our upcoming Kaskade Fire and Ice concert, I decided to design my own galaxy tank to rave in at the concert. I really liked the tutorial on TFIM, but I think I cut a lot of corners, so it probably took me all of 10 minutes to design this tank once I got all my materials...
Shall we get started?
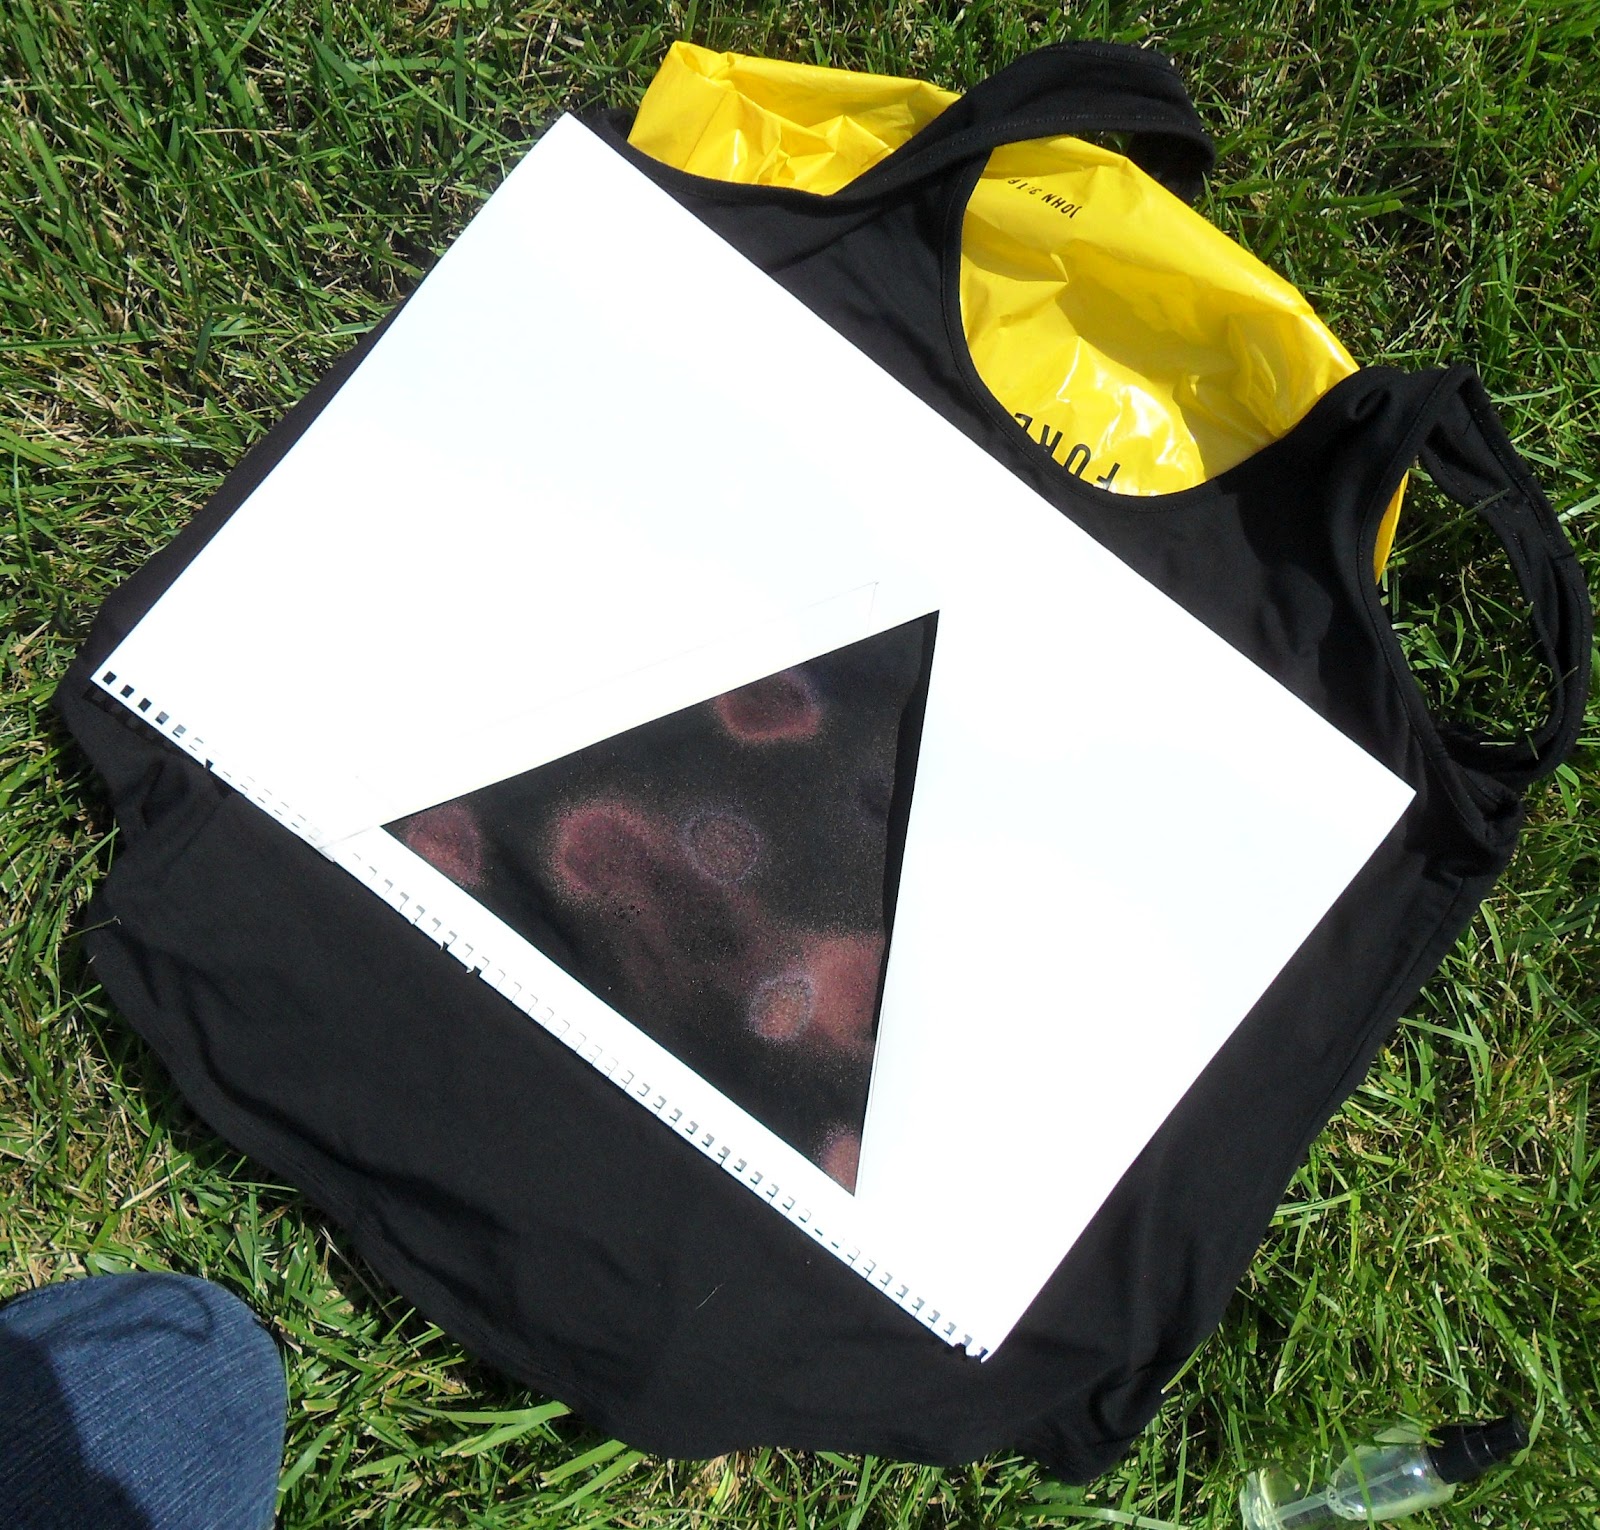
- Get your black tank or whatever item of clothing you want to design on. Mine was this XXL tank from Old Navy I got for like $1.75.
- Make a stencil if you want; mine was really makeshift. I just folded a giant sheet of paper from a large drawing pad and cut a triangle that was 10 inches long on each side. Being a perfectionist, I wanted to break out my compass (no, seriously), but I only found my grandfather's old silver, fragile and pointy looking compasses that have no numbers on them. So I skipped the perfectionism and used a ruler to eyeball it. But to cut your DIY time to probably 8 minutes, just free-hand the design or "galaxy" the whole thing.
- Get your bleach. Then put it in a spray bottle, but don't dilute it with anything.
- Take shelter in a well ventilated area, because bleach smells strong. This tutorial isn't really meant to give you a headache, so I went outside.
- Put a plastic bag or cardboard inside the shirt, if you are using one, so that the bleach doesn't leak onto the back.
- Then spray within the stencil if you are using one. Don't worry if you get some outside of the stencil-- you'll be okay. Promise.

8. Let it completely dry before you rinse it in lukewarm water to stop the bleaching process.

9. Then when it dries, you can use fabric paint to spruce it up. White little splatters of paint using an old paintbrush or toothbrush adds stars to your galaxy. Colors like purple, orange, and blue can add dimension to your galaxy and really make it out of this world (haha).
10. Let your design dry over night. Then rinse with cold water the next day to get rid of any smells from the paint or bleach.


Enjoy!
Kimberly


What a cute DIY! It looks great on you!!
ReplyDeleteI would love for you to visit my blog sometime!!
:)
Allison
afashionfiles.blogspot.com
it looks pretty great. doesnt even look diy xx
ReplyDeleteThis is such a nice DIY! I love the shirt!
ReplyDeleteThe shirt looks great! Such an awesome DIY, thanks for sharing! Your blog is so cute =)
ReplyDeletexoxo,
Suzie Q
www.StyleCueBySuzieQ.com
Wow, such a good idea! It turned out amazing!!
ReplyDeletehttp://heydahye.blogspot.com/
This is so cool! Going to keep this in mind :) x
ReplyDeleteThis is so freaking cool! Love it.
ReplyDeleteox from NYC!
davie+erica
LPFashionPhilosophy
Such a Great DIY!!
ReplyDelete$100 Shopbop GIVEAWAY
Hey fellow shoe addict! Thanks for visiting my blog :D
ReplyDeleteThis is such a neat idea btw. it definitely beats spending 50 bucks on a store bought galactic tank!
I was browsing around too and I fell in love with your blue ombre Mudd top. Is it still available in stores?
I may be reaching here :)
x
- Shubana
-- CoeurDecors
Thanks! You can check for the ombre sweater...I did stumble upon it at Kohl's less than a month ago. I'm not sure if they have it still since I never really shop there.
DeleteYOUR TEE SHIRT IS WOW
ReplyDeletehttp://gamine-de-paris.blogspot.fr/